Fix Your Crappy Phone Photos With This Powerful App
Your phone’s camera is more powerful than ever, but far from reliable. It’s always discouraging to think that you’ve taken the perfect shot just to check your film and find that you’ve messed up something – your composition, white balance, or who knows what – and you’ve rendered imperfect. moment that is gone forever.
Luckily, you can remedy your situation by getting your hands on a photo editing app that is equally effective and easy to use, even when you’re making the most complex edits. The Google Snapseed app ( iOS , Android ) fits the bill, but its treasure trove of tools can seem daunting at first glance. Here’s a quick guide on how Snapseed can make your photos shine.
What is Snapseed?
Snapseed is a free Google photo editing app for Android and iOS. It offers many options for customizing your photos. Unlike most applications that focus on filters, Snapseed provides many options for adjusting the basic properties and structure of an image. It houses these advanced tools in a simple design that won’t overwhelm you or have to take a cool tutorial to master it – a problem you’ll likely run into in professional applications like Adobe Lightroom.
What can you do with Snapseed?
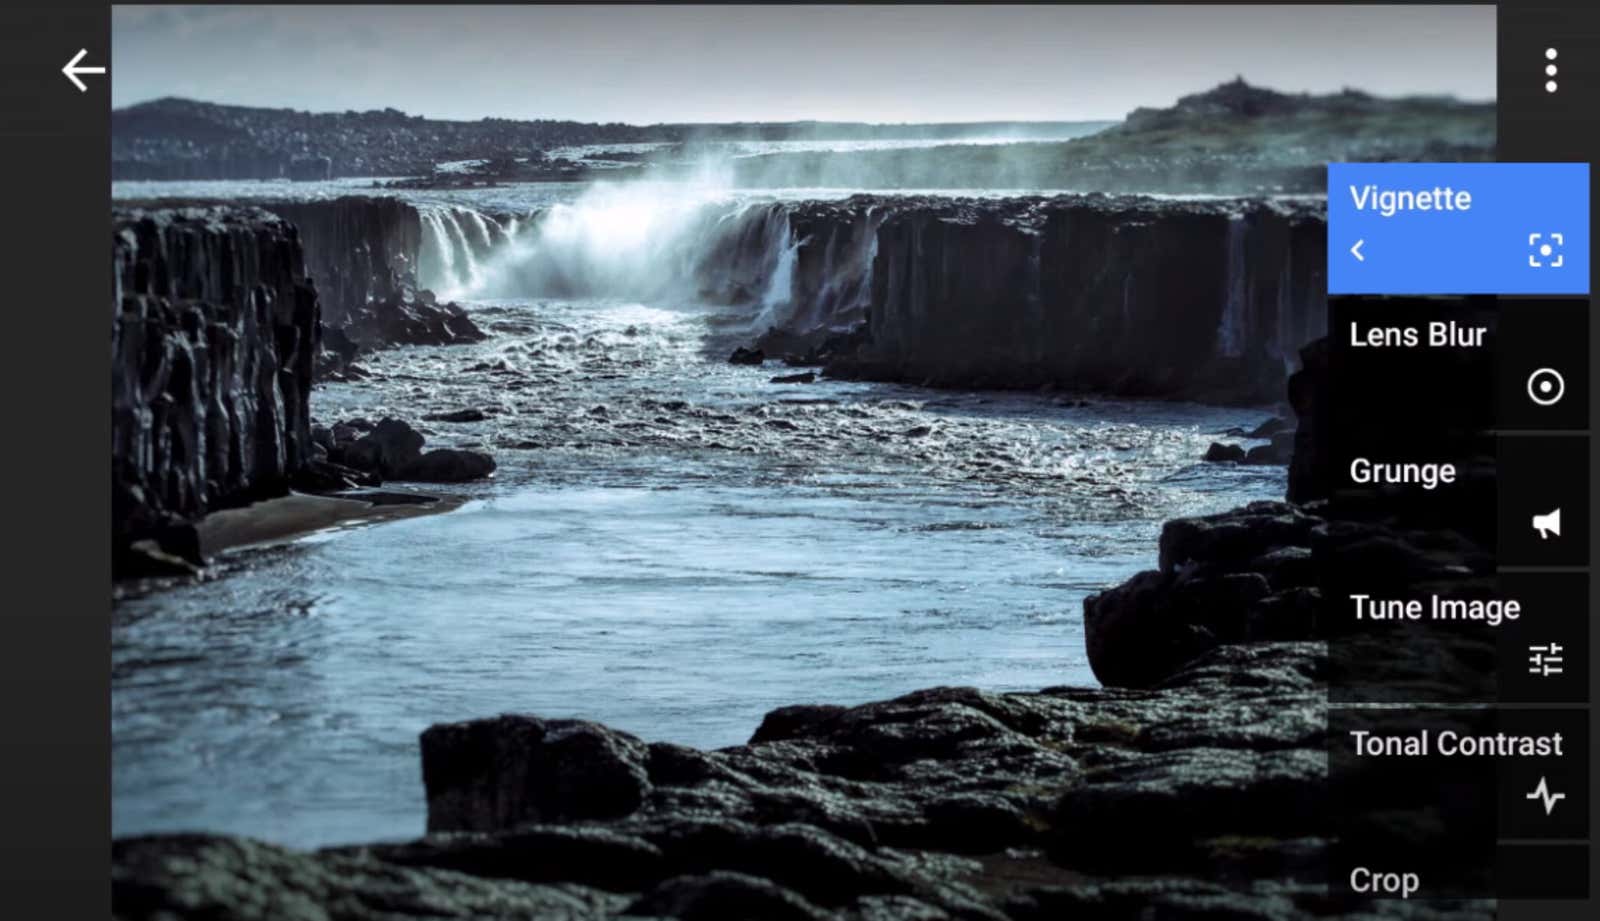
Snapseed gives you access to both basic and advanced image editing tools. You can tweak details like highlights and contrast, crop or rotate frames, add vintage effects, blur the background, fine-tune white balance, and more.
Snapseed also has about a dozen pre-installed filters that you can try if you’re looking for a quick and easy solution, and comes with a bunch of different tools you can use to annotate images and add text, banners, and speech bubbles. …
More importantly, it offers a feature called Custom, which allows you to apply some of your edits exclusively to a specific area of the image. For example, when shooting a landscape, if you want to make an animal stand out, you can simply select the area it occupies and increase its brightness level.
Snapseed sets itself apart from other apps thanks to its advanced features commonly found in high-quality photography software. Thanks to Google’s smart algorithms that take the hard work, using these professional tools is as easy as turning a watch face.
Once you learn how to use them, you can easily rid your shot of unwanted objects, artificially expand landscapes, switch the perspective of an image, change a person’s facial expression or head pose, and much more.
Let’s take a look at a few examples of how you can use the app.
- Adjusting perspective in photos
- Using artificial intelligence to enlarge a photo by processing edges
- Removing stains and blemishes
- Fixing awkward faces
- Create stunning text effects
How to use the advanced Snapseed photography tools
All of these examples were taken from an Android phone, but feature access is identical on iOS.
Adjusting perspective
We don’t have complete control over the angle of the frame once it’s taken, but Snapseed’s perspective tool lets you tweak it a bit. Because the images are two-dimensional, Snapseed cannot detect hidden detailsthat would otherwise be visible from a different vantage point . Instead, this feature allows you to edit the relative position of the subject by artificially expanding the edges of the photo to fill in gaps.
For example, imagine you have a photograph of a mountain. For … circumstances, it was impossible to shoot from the center. You can simply crop and align the sides to make them look symmetrical, or you can use the Snapseed Perspective tool. All you have to do is launch the application, click Perspective and tilt the image to the center. Snapseed intelligently expands elements at the edges and reproduces the shot at the desired angle.
This tool, as you would expect, will not provide accurate results in more complex situations. But here he copes with his task perfectly.
Artificially expanding your image
If you need to artificially add a little to your image – perhaps to make it the right aspect ratio for what you are doing – try the Expansion option in Snapseed, which is based on the same technology as the Perspective tool. In this case, Snapseed will try to digitally reproduce the edges of your shot by stretching them like Photoshop’s automatic clone brush.
The Expand tool is next to the Perspective tool in Snapseed. After you’ve imported the file, select Expand and drag the handle of the edge you want to expand. For optimal results, it’s best to expand gradually and wait for Snapseed to catch up before moving on.
“Heal” specks and blemishes from your image “
Even the slightest obstacle is enough to ruin the image. It could be a bird that flew into the frame when you press the shutter button, or a speck of dust that stuck to your camera lens and you didn’t notice it. Snapseed’s Heal ability can correct these imperfections by guessing what an image might look like if what you didn’t want in it … wasn’t there.
In the scene above, I didn’t want the cell tower and wire to block the dawn sky colors, so I used the Snapseed Heal tab to get rid of them. You can think of this tool as an eraser, but use it carefully; you need to touch or slide your finger over the objects you want to delete, but that won’t work if you erase the object in one go.
Your first step should be to enlarge the area you want to edit. Healing works best when you use it as if you were cleaning a wound. Lightly paint over the subject a few times until Snapseed detects what’s in the background and removes the subject. In case the application crashes at some point, you can undo the last hit and continue by clearing the boundaries of the object.
It can take trial and error to figure out how to operate a healing tool. (Make sure you also take care of any resulting stains.)
Fixing awkward faces in photos
Snapseed has a solution for your frowned or distracted faces. Its Head Pose tool turns your face into a 3D model that you can then manipulate. For example, you can edit a person’s mouth to turn a frown into a grin. In addition, there are options to adjust the pupil size and focal length of the head so you can reshape the face.
After importing the image, go to the Head Pose setting and give the app a few seconds to display the face you are trying to adjust. Once this is done, simply move your head to a different position. On the Settings tab, you will have access to the Pupil Size, Smile, and Focal Length sliders.
In addition to head pose, you’ll also find a section called Portrait, which you can use to control characteristics such as skin tones and skin smoothness.
Editing stack and overlapping text
One of the best features of Snapseed is its edit stack, which gives you an overview of all the changes you’ve made, so you can easily undo or change any of them without undoing all of your work.
The editing stack also makes it easy to perform a number of complex photography tricks. You can hide a piece of text behind another object, such as a building, for a dramatic effect. To do this, add text to the image and align the part you want to hide with the object. Go back to the home page and tap the little stack icon at the top. Select View Changes and double-tap the blue box labeled Text.
Select the brush and click the Invert button to the left of the cross in the bottom panel. This will make your text completely opaque. Set the opacity of the brush to zero by clicking on the down arrow four times. Zoom in on the area where you want to hide some of the text and paint over it. This will partially camouflage the characters. Once you are happy with the result, click the checkmark button.