How to Set up Your Bike
Spring has come and it’s time to get your bike out of hibernation. Prepare it for the road or trail with basic maintenance before setting off on your first ride.
Start by taking a close look at your bike. Check the tires for wear, worn brake pads, a stuck chain, and dust or dirt.
If something is clearly broken, you have an electronics (such as an e-bike battery or DI2 switch) that needs to be set up, or you are dusting it for the first time in 10 years, contact a professional bike mechanic at your local store.
Otherwise, using a few tools and cleaning products, you can set your bike to spring yourself. Here’s what you need:
- Tire Levers (2)
- Tire pump
- Additional tubes
- Chain lubrication
- Soft napkins
Wipe it off
Wipe off any dust from the frame, wheels, handlebar and pedals, then wipe it off with a soft, damp cloth. If your bike is really dirty, you can lightly spray the frame with a hose or wipe it down with soapy water.
Just do not spray water directly on or on any mechanical parts, including the chain. We’ll deal with cleaning and lubricating the transmission later.
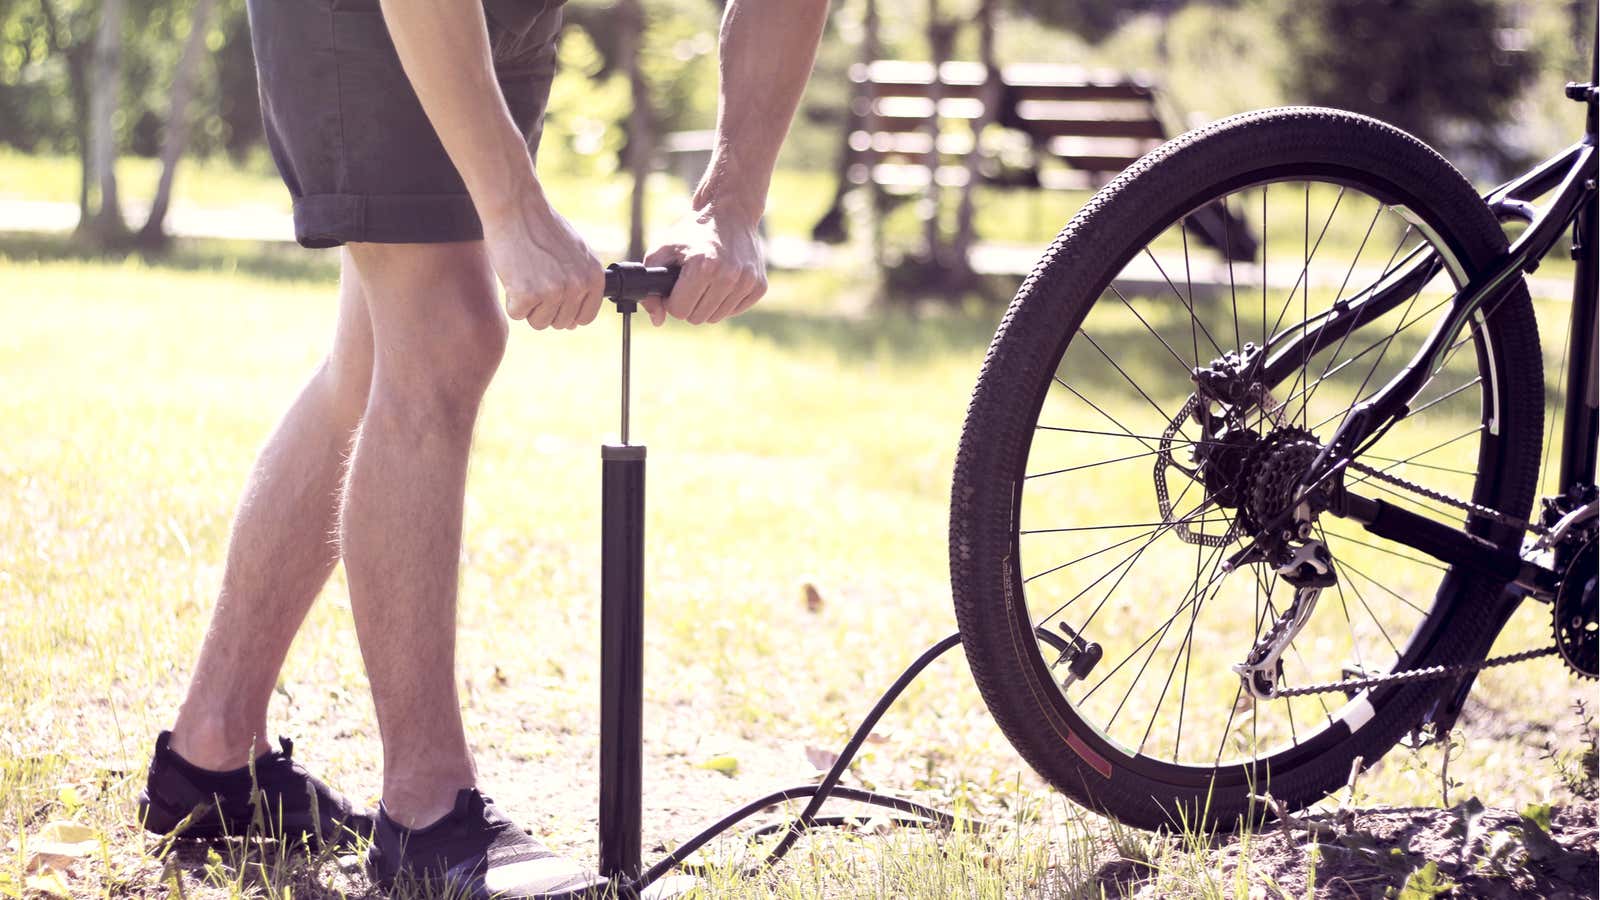
Pump your tires
If you have low tires (but not fully deflated), consider using a bicycle pump. Make sure you are using the right side or tube valve adapter: thin (Presta) or thick (Schrader). If the valve stem has a plastic cap, unscrew it and set it aside.
Finally, for Presta valves, unscrew the tiny tip. You will know the valve is open when you press and hear air release.
Before starting to inflate, check the recommended pressure range (measured in psi) for your tire. This is usually stamped on the tire wall.
Connect the pump to the valve stem, block it and pump to the recommended pressure using the pressure gauge on the pump. If you feel a lot of resistance or notice that no air is coming in, adjust the pump nozzle.
Once you have reached the desired pressure, remove the pump and screw the valve tip (Presta) back on.
Finally, it is recommended that you check your tire pressures before every ride. As with your car, low pressure is ineffective for you and bad for your bike’s tires.
Fix apartments
If your tires are completely flat, you need to replace the inner tubes. Grab tire levers and new tubes. Make sure they are theright size for your tire – you will find the diameter and width on the sidewall around the recommended psi.
- Remove the flat wheel by releasing the brakes and quick-release axle or by unscrewing the bolt. If you needto remove the rear wheel , first switch to the smallest gear.
- Remove the plastic cap (if you have one) from the old tube and round valve nut (again, for Presta only). Make sure the tube is completely deflated.
- Insert the tire arm between the rim and the edge of the tire against the valve stem. Move the lever away from your body to continue removing the tire from the wheel rim. The goal is to detach one side of the tire from the rim, but do not remove it completely.
- If you are having trouble keeping the lever under the tire bead, hook one onto the spoke and use the other to remove the tire.
- Pull out the valve stem and remove the tubing.
- Inspect the tube and tire for damage. Inner tubes can wear out over time, but flat surfaces are often caused by stones, glass, debris, or valve damage. Look for anything cut into the tire or along the rim, holes in the rim tape, or obvious cuts in the tube. If your tire or rim tape is at fault, you need to replace it as well.
- Take a new tube and inflate it with several jets of air.
- Insert the valve stem into the hole and the rest of the tube into the rim.
- Reposition the tire edge inside the rim starting at the opposite valve axis. The last few inches are often hard – pinch the splint and use your thumbs or heels to push it away from your body to increase the effort.
- Make sure the tube edge does not protrude from under the tire.
- Inflate the tube slowly while stopping to make sure the tube and tire are properly seated on the rim.
- Return the wheel to the bike and inflate it to the correct pressure.
Lubricate the chain
Your bike drivetrain is everything that makes your bike move , including the chain, chainring, and rear cassette teeth (at the back). If these parts are damaged, friction reduces their effectiveness and also wears them out faster. Cleaning and lubricating your chain keeps everything running smoothly.
With the rear wheel, place the bike on a stand or turn it upside down and use a soft cloth or lint-free cloth. Wrap the cloth around the chain and slowly turn the pedal to gently wipe off dirt and grease.
Then continue pedaling, applying a drop of lubricant to each link. Wipe the chain again to remove excess lubricant and press the pedal forward to shift all gears.
If your transmission is rusty or very dirty, you can do a deeper cleaning, but you will need additional tools and materials, as well as more time and space.
Adjust the brakes
As with car tires, bicycle brake pads have lines that indicate wear. If you don’t see any dents on the rim pads, or if the disc brake pads are worn down to about 1 millimeter, it’s time to replace them. Obviously, bad brake pads are bad for your ability to slow down and stop.
Otherwise, you can simply check that your brakes are properly adjusted (so they don’t rub against the wheel rim) and that they are tight enough. First, make sure your wheels are centered on the frame. Then turn the wheels and press the brake levers to make sure the brakes are compressed and come to a quick stop.
If your wheel is not true (i.e. wobbling or off-center) or you are unsure about your brakes, see a professional mechanic. Taking care of your bike is tricky, so it’s best to play it safe.