How to Iron Shirts, Pants and Skirts Correctly
Freshly ironed clothes look great: clean, neat and tidy. In theory, ironing is great, and once you start, it’s not even that bad, but it’s also cumbersome and a lot of people tend to put it off. Also, you may be a little wary of ruining your favorite shirt or dress.
If you have questions about ironing, you’ve come to the right place. Here we break it down into three of the simplest and most common cases: shirts, pants, and skirts. Certain types of fabrics may require special attention, but otherwise, everything is almost the same.
What you need:
- A clean iron (no rust or burnt starch, because this will ruin your clothes!)
- Ironing board
- A little water, preferably in a spray bottle.
- A little light starch (if you want to use it)
Yes, you really need an ironing board. “Any old flat surface” is fine as a last resort, but it is more of an emergency measure than anything else. The ironing board is specially made to make your work easier, but what’s more, they are wrapped in a special material that is not only fire resistant but also breathable so that steam can escape from under the item you are ironing.
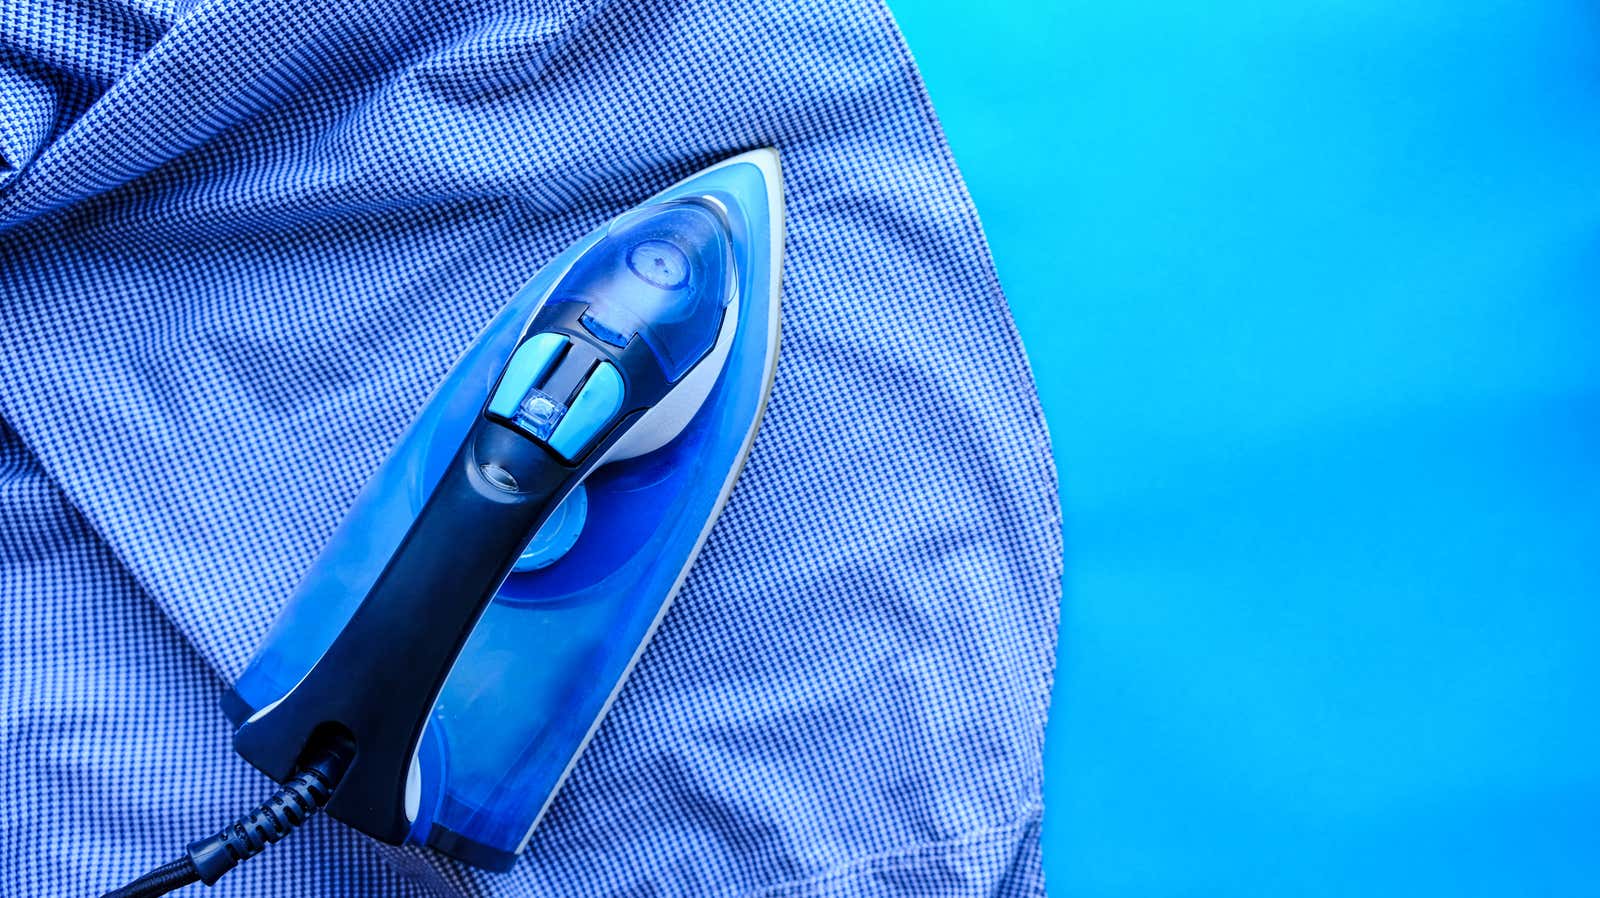
Shirts
Ironing shirts is faster and easier than you think. According to T.M. Levin in the video above, it takes only three minutes on average to iron a shirt correctly, and rightly so.
- It is best to start with the sleeves as they will hang well off the ironing board while you finish the rest of the shirt. If you do it the other way around and leave the sleeves for last, it will cause wrinkles to appear on other parts of the shirt that you have ironed.
- Open the cuffs! This is something that many newbies to ironing consistently do wrong, but not only is it easier to unbutton the cuffs and unfold them, but you can iron the entire sleeve better.
- When making a shirt collar, make sure you open it and lay it flat. Like handcuffs, people tend to think that this is the opposite of what they should be doing, as they are used to seeing the collar down all the time.
- Then let the shirt hang for a few minutes to cool completely. Ironing the fabric heats up to a very high relative temperature and the “flatness” actually occurs during the cool-down phase, so wearing it immediately may negate some of the hard work you just put into ironing.
Trousers
There is a reason why people say “press” instead of “pants iron”. Even if you still use the iron, light pressure and steam will do all the work, not the movement and heat of the iron itself.
- If you’ve lost your main fold, it’s easy to find it again. Simply place the pants on the ironing board and line the leg seams to match. The fold is as far away from the seams as the fabric.
- The fold should extend down to the leg, reaching about six inches below the waist. If there are folds, the fold may extend all the way to the fold. Always install the front fold first.
- If you have dented a pleat, the pants should hang from the waist for at least an hour or two to harden. If you don’t have creases in your pants, don’t worry about it! Just let them cool down for a few minutes.
Skirts
For most skirts, this is as easy as starting at the top and gradually working downward. The exception is skirts, which suddenly expand at the bottom, with the so-called “flounces”. For flounced skirts, start at the bottom and iron each flounce first, then work your way up to the waist. Basically, it’s just that easy with skirts – you just need to be careful with the fabric.
Use the right heat for the right fabrics
Fabrics such as silk and polyester require special attention because they are easy to ruin with an iron. For any of these, make sure you always use the lowest setting your iron has. Although not necessary , you should also use a linen protective cloth (something like baking paper will work fine too). Linen is used instead of cotton because it does not leave lint and is breathable, allowing steam to pass through.
Use a medium setting for wool and rayon, and for cotton and linen, keep the iron on high heat. If you are unsure of the type of fabric to iron, follow one step below just in case. If the wrinkles do not smooth out, try lightly stroking at a higher level.
Wrinkle removal as a last resort (no iron)
Sometimes you just don’t have time to sit down and iron something, or you may not even have an iron on hand and you just can’t find one. In such cases, there are several tricks that can help you do without much headache.
Use a shower: how would be funny as it may sound, hang clothes just behind a curtain or door shower during hot running water – it’s actually a very easy way to get rid of most wrinkles in clothes. The only problem with this method is that clothes can get wet quite easily from one wrong splash, and folds that were deliberately will most likely disappear soon.
Spraying water: Using a spray bottle is already a technique used during ironing to get the steam deeper into the fabric, but if you don’t have an iron and need to get rid of serious wrinkles, just using water itself can help you. immensely . The best way to do something like this is to use something flat and heavy, like a phone book. Spray some water on the wrinkled area, rub it gently and try to smooth it by pressing the book against it on a flat table. Don’t keep it on for too long, though, or you might cause a whole new set of wrinkles to come around.
Use a tumble dryer: If you have a good half hour, you can spray a large amount of water on the wrinkled item and toss it into the tumble dryer for a quick hot wash. The trick is to take it out of the dryer while it is still hot and then either put it on or hang it straight away. This way you can remove almost all the wrinkles from one piece. You can also throw in some ice cubes instead of splashing water on your clothes beforehand.
This story was originally published in 2011 and was updated on 11/19/19 to provide more complete and up-to-date information.