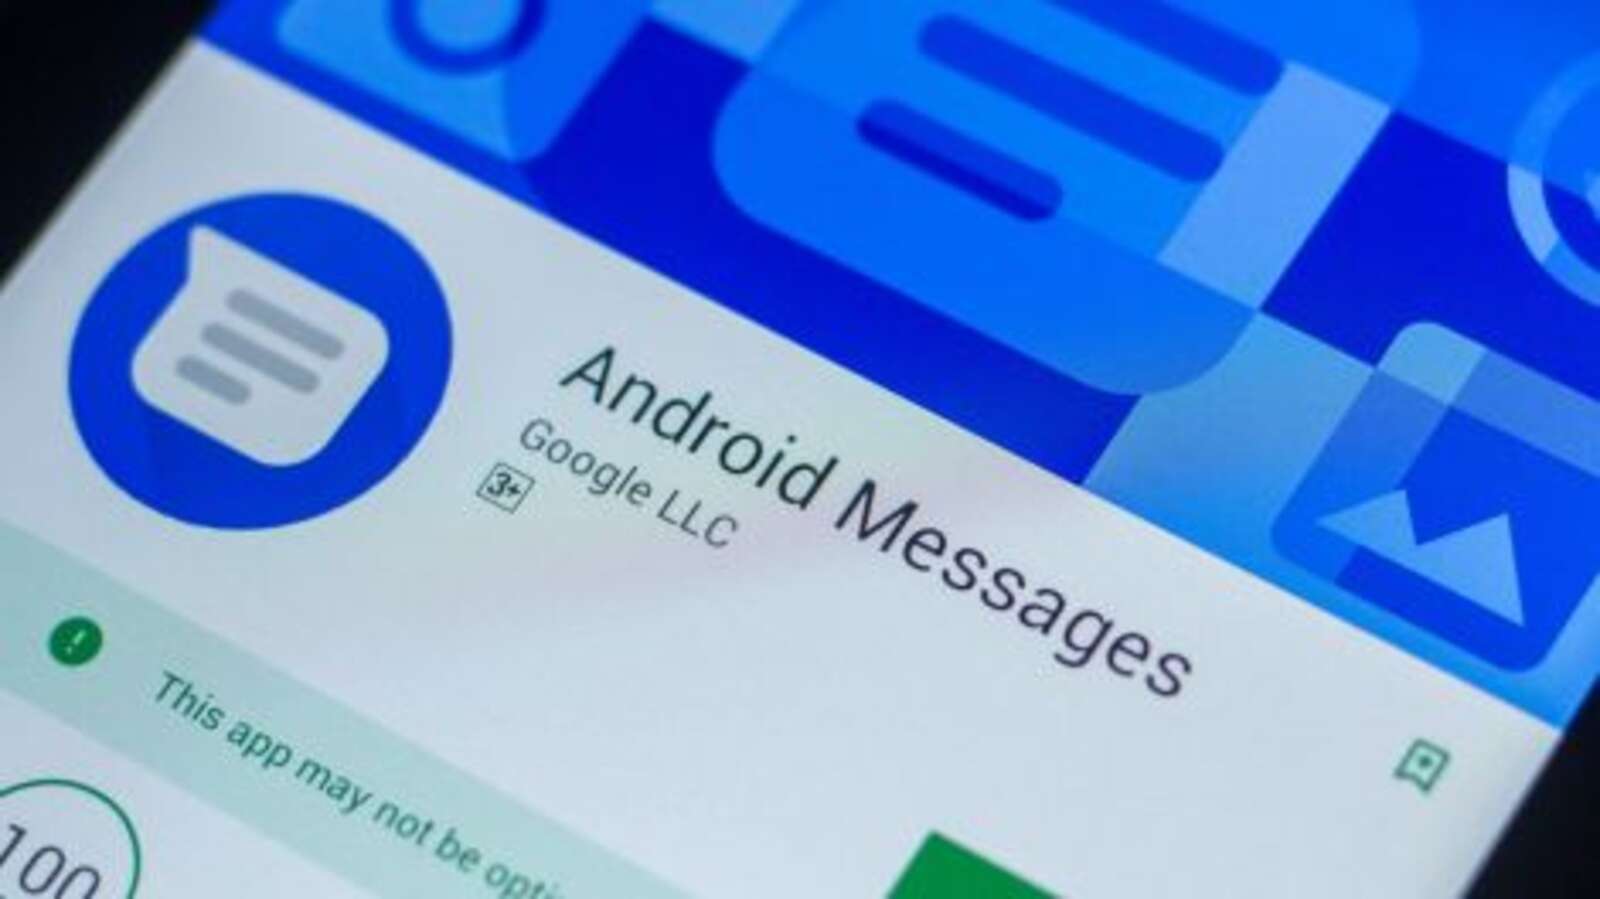
How to Manually Enable RCS on Android Right Now (Updated)
It’s been a while since Google announced plans to roll out RCS so Android users can finally ditch the legacy SMS technology, but most users get stuck waiting for their mobile carriers to flip the switch at some point in 2020. year. the way to enable RCS manually, but as many users and many of our readers have discovered, is inconsistent at best.
If you’re not sure what RCS is or why you want to enable it, our RCS tutorial has all the details , but the most important reason is that RCS text messages are better and support many more features than SMS. Do you know how Apple’s iMessage lets you see when your friends are typing or talking on multiple devices? RCS allows Android users to finally do both – plus a lot more – in their main text-based app.
Google updated its Android messaging app with RCS support some time ago, but every mobile operator must enable it on their network. However, Android Police recently reported that Reddit users have successfully enabled RCS features in their Android Messages app without carrier permission. Since then, this trick seems to no longer work on some phones , most commonly OnePlus devices, although it has also been reported on Pixel phones and Samsung Galaxy models.
Despite these issues, the trick remains possible for many users, although the process can take several tries before it works.
How to manually enable RCS messaging on Android
- During this process, you need to turn off Wi-Fi on your device. Swipe down on your phone screen to display the quick settings and notifications menu, then find and tap the “Wi-Fi” shortcut to turn it off.
- Then open the Activity Launcher and select All Activities from the dropdown menu.
- Click Messages, then scroll down and click Set RCS Flags.
- Scroll down to “URL ACS” and select “http://rcs-acs-prod-us.sandbox.google.com”. from the drop-down menu.
- Force close messages.
- Install the Carrier Services app if you haven’t already, then go to Settings and find All Apps. Search for Carrier Services and delete the app data.
- Open Messages again and repeat steps 2 and 3.
- Then select “Your \ sMessenger \ sverification \ scode \ sis \ sG – (\ d {6})” from the OTP Template drop-down menu .
- Scroll down and click Apply.
- Force close the Messages app and then reopen it. If there is a banner asking “Update Now” so you can see what your friends are typing, click “Update Now”. If not, refer to the steps above and double-check that you haven’t missed anything.
After the update, you can tap “…”> “Settings”> “Chat Features” in the Messages app to see which RCS features are available to you. If you see a warning message at the top of your screen, it could mean that your phone number could not be verified, but don’t worry, this is fixable. First, make sure you followed the above steps correctly. If that doesn’t solve anything, do the following:
- Force close the messages, then try clearing the Carrier Services application data again. Reboot your phone.
- After restarting your phone, open the Messages app again and select …> Settings> Chat Features> Status: Setting, then press Confirm and enter your phone number.
If you’ve followed all of these steps and still can’t get RCS (or the Messages app) to work, or your phone is just telling you bluntly that your carrier doesn’t support RCS, then you might be out of luck. and you just have to wait for your carrier to enable RCS support in the future. In this case, you can walk back the entire process by following the steps above, but instead deleting the “ACS Url” field in step 4 and the “OTP template” in step 8.
Updated on 11/01/2019 with revised steps, troubleshooting and fixes for the trick, as well as new information and related links in light of reports that the workaround has been deactivated on some devices.