How to Take Better Night Photos With Your Smartphone
Smartphone cameras perform much better than before, but they are still a little limited when it comes to night photography. Whether you’re taking photos in a bar or outdoors in the moonlight, your phone’s camera sensor is probably still too small to perform on par with a full-size camera.
However, this does not mean that he cannot shoot in the dark. Many new smartphones, such as the Google Pixel 3 and Samsung Galaxy S10, come with quality night modes. Other phones tend to include a manual mode that lets you customize things like exposure or photo shutter speed before you take it. Even the iPhone XS has a few tweaks that can help you take better pictures at night. All you need is a little patience and time to dig into the settings.
Adjust the exposure
Often the easiest way to light up a dark scene on your smartphone is to simply adjust the exposure. Most Android smartphones offer this feature right in the viewfinder. It is enough to touch the screen and drag the exposure meter to fix the exposure of the frame. Works similarly on iPhone. Press and hold on the part of the frame you want to focus on, which simultaneously locks the exposure. Then slide your finger up and down the viewfinder to adjust accordingly.
Since the iPhone doesn’t have a dedicated night mode, it’s best to adjust the exposure for low-light photos. You also don’t need to magnify it to take a picture; in most cases the product looks better at lower exposure. A lower exposure requires a faster shutter speed, so the sensor does not pick up as much light. In turn, this helps to create sharper photos in low light conditions, as it does not try to illuminate the entire scene.
Chasing light
Some of my favorite smartphone photos were taken while chasing light. Using any available light to your advantage – a street lamp, a candle, or a bright side light bulb – can help create cool abstract photography. In low light, darkness acts as a background against which you can highlight shapes and objects. This is the perfect recipe for a dark scene.
You can also use your phone’s rear flash to help shape the scene. If overexposure bothers you, try to diffuse it by placing a tissue or paper in the light.
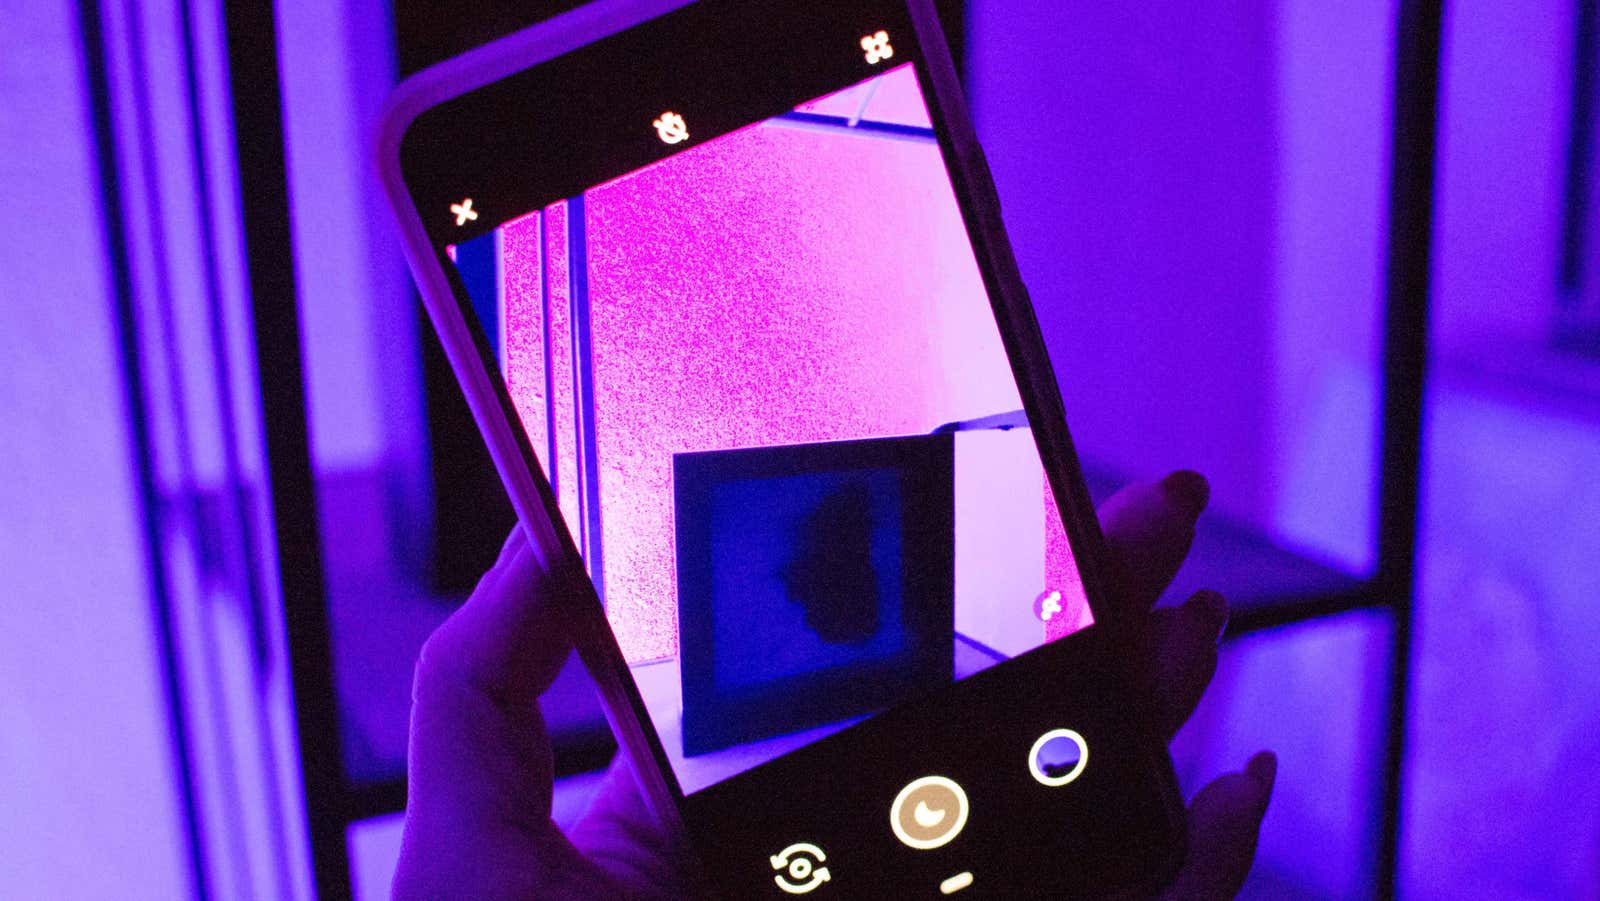
Learn to use night mode
Most popular smartphones have night mode built into their own camera app. Night mode works by taking multiple exposures and then combining information from each of the images to create what the computer considers a well-lit photograph, without too much noise.
Night mode is usually not enabled by default. On the Pixel 3 and 3a, the camera app will prompt you to try out a version called Night Sight when it detects that you are taking a photo in low light. You can also manually access this feature by tapping More in the camera app and then selecting Night Sight. If it’s too dark to focus, try using the built-in exposure lock, available in the upper right corner of the screen. After setting, press the shutter button to take the picture. Be sure to stand still, as this mode stays the shutter longer, trying to capture the best it can. You can also try using the 3-second timer available on the left side of the camera interface to allow yourself a moment to calm down before he wants anything. On other Android devices, if there is a dedicated night mode, you will see it pop up in the main camera interface options.
Stabilize your smartphone
In the case of night mode, it is best to stand with the smartphone in hand to get a clear picture in the dark. Place your phone on a stable surface. Or, if you are serious about the fact that the shutter remains open, buy a tripod for a smartphone, such as loha .
Switch to manual mode
If your smartphone does not support night mode, check the camera settings for manual mode included in the software. On devices such as the LG G8 ThinQ, this mode allows you to individually adjust exposure, ISO and shutter speed to help you take photos in low light. Pay close attention to shutter speed, which is your key when shooting scenes such as the night sky. The longer you keep the shutter speed open, the more light the smartphone’s camera sensors can pick up.
For best results, use Manual Mode, or “Pro,” as it is called on some models, using a smartphone tripod. In manual mode, the result of your adjustments is usually displayed directly in the viewfinder.
The iPhone offers some manual controls right in the camera interface, although they’re limited to focus and exposure. If you want to take a long exposure photo, you can do so in Live Photo mode. At night, this feature can help capture overhead fireworks or bright neon lights.
If manual camera settings are not available for your smartphone, try a third-party app. On Android, choose a trusted app like Camera MX or one of the newer players called Footej Camera . Both of these apps offer individual control over the elements of a photo before taking a shot, including the real-time viewfinder. On iPhone, Moment – Pro Camera , developed by mobile camera lens manufacturers and longtime Pro Camera veteran, are full-featured handheld camera apps with video support and other advanced features. You can also use any RAW shooting app, which is especially useful when it comes to post-facto night time photo editing.
Avoid other lenses
A popular trend in smartphones these days is to mount different lenses for the rear camera. If your smartphone has multiple cameras, make sure you are shooting with the correct one.
On the iPhone X and XS, you have wide-angle and telephoto lenses, although both are equipped with OIS and can work at night. But there are three rear cameras on devices like the Galaxy S10 and S10 +, including a wide-angle lens and a telephoto lens. In this case, the latter two have a smaller aperture and cannot receive the same amount of light as the main camera.
Try an editing app
If all else fails, try editing your photos in a mobile app such as Adobe Lightroom (for Android and iOS ) or Snapseed (for Android and iOS ). Both applications support RAW image processing, so you can shoot data-loaded photos and customize them to your liking. Both apps also support noise reduction, which helps smooth out the details of dark images so they don’t look unnecessarily grainy. Of course, your experience can vary with these specific editing features, as your smartphone’s camera sensor ultimately determines your final product.