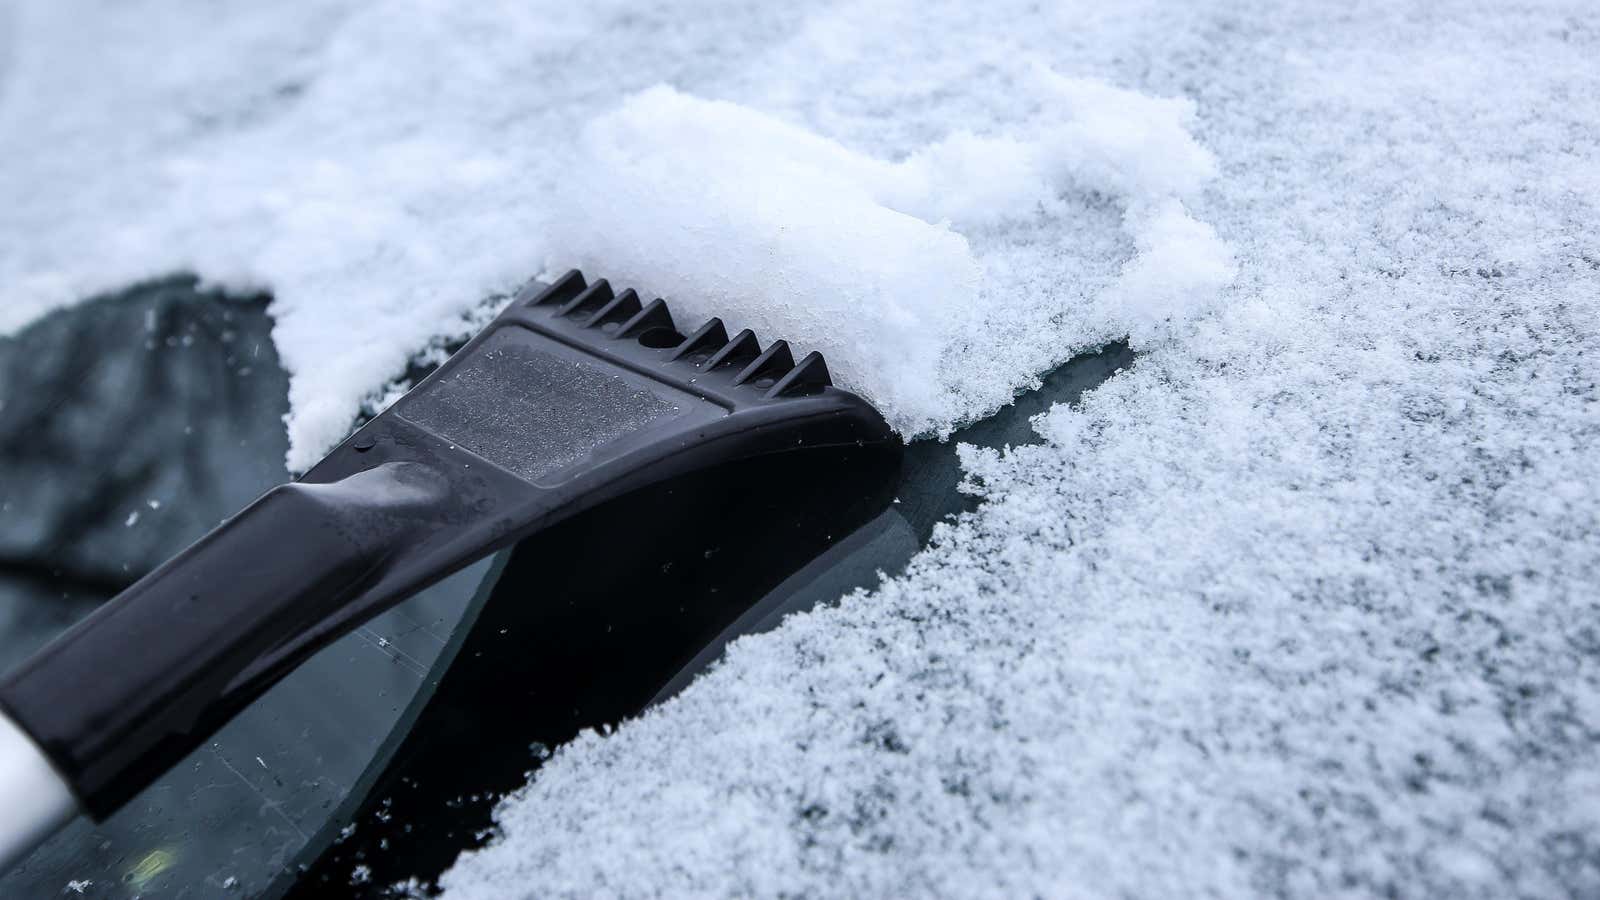
You Are Using the Ice Scraper Incorrectly

I grew up in upstate New York without a garage, so I consider myself quite proficient in the art of de-icing cars – or so I thought. Ice storms have become more frequent in Portland since I moved here over a decade ago, and with each storm I’m less confident in my ability to clear my windshield. As it turned out, not only did I not practice; I also misused my ice scraper.
Slash the ice before you scrape it off
If you’ve ever tried to scrape a thick layer of hard ice off a windshield, you know the hardest part is getting under it; until the corner of the scraper is between the window and the ice, it won’t go anywhere. This is why most ice scrapers have ridges on one side of the blade. You have to use them to “hammer” the surface of the ice. It’s almost like perforating a piece of paper that you want to rip cleanly; scratching the surface relieves stress, making scraping with the flat side much easier. I had no idea what ridges were for, but in my defense, I’ve never been good at physics.
The correct technique here is quite simple. First, it always helps to start the car and force the defrost to attack the ice from both sides. (If your doors are covered with ice, dousing them with warm water should loosen them enough to allow them to be opened.) Remove the scraper and work on the windows with the ribbed side of the blade; it is best to make hatching for very thick ice. When you’ve finished slicing the ice with the ribbed side, turn the blade over and clean it with the flat side. It should fall apart without much effort. If not, you can try hitting the surface of the ice with the ridged side of the blade – that should be enough to physically break it up a bit, especially if you’ve already hammered it.
The next time you find yourself staring at a completely iced windshield – though you’re running late, of course – be sure to flip the scraper blade over and let the ridges do the hard work for you.