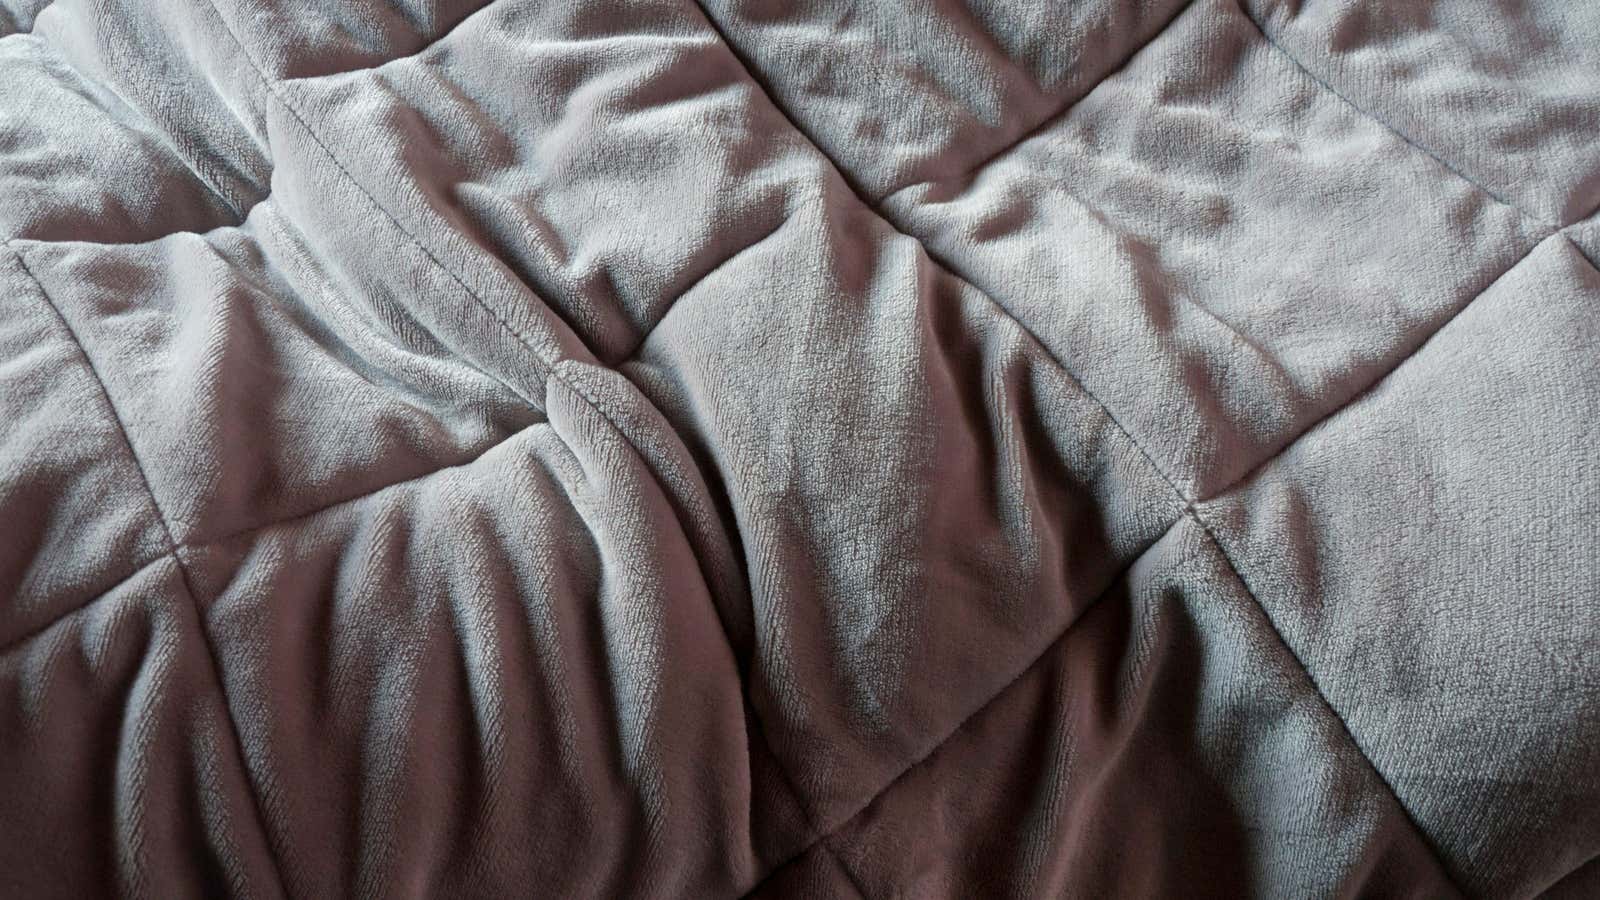
You Can Make Your Own Weighted Blanket

A weighted blanket can be soothing if you have trouble sleeping, and some people find they sleep better when using it. Finding a blanket that’s right for you in terms of size, weight, and design can be a challenge with such a specialty product, and they can be quite expensive. But you can make your own weighted blanket, which is just as relaxing and effective as store-bought.
To get started you will need:
- Sewing machine
- kitchen scales
- Flexible fabric tape measure
- Scissors
- Washable fabric marker
- Pins
- strong thread
- Plastic fillers
- Two layers of thick fabric (large enough to cover your body).
Using an iron to iron parts while you work is also helpful, but not 100% necessary.
To determine how much fabric you will need, you can measure your height and then sew a blanket that matches your height to your height, minus about eight inches. Most fabric will be sold by the yard, and two yards will probably suffice. Choose a fabric that has some weight but is still soft. Fleece , thicker flannel , and various types of quilt fabrics work well. Keep in mind that you will probably want to wash your comforter at some point, so make sure you choose a material that is easy to wash. You should choose a thread that matches your fabric, or if you want to see the stitching, choose one that contrasts. For beginners, it is easier to hide mistakes if you use a thread color that will blend in.
How to sew fabric for a weighted blanket
First, sew the two pieces of fabric together on three sides, right sides together. You can double stitch this seam as it will be the edge of your quilt. Turn the fabric right side out and press the edge with an iron. Then sew the outside sides on three sides about a half inch from the edge of your first seam, creating a border for your quilt. You should now have a bag with three finished sides and one open side.
Mark the squares and sew the rows
Then mark with a fabric marker every four inches along the open edge and make lines every four inches and then up and down. You can make a dotted line or use any method that allows you to embroider a straight line. Then, starting opposite the open edge, sew two panels together every four inches, working towards the open edge. After each row is sewn, you should end up with long, narrow pockets.
Fill in and sew the squares
Slip about 30 grams of stuffing into each of the long pockets and pin along a line running perpendicular to your pockets. Sew along the first horizontal line. Repeat this process, working towards the open row, until you get to the last row of squares. At this point you should have rows of squares with beads in each but the last row.
Finish your blanket
Put 30 g of filling in each of the last rows of pockets, fold the edges of the fabric and press. Then double stitch half an inch from the edge to close the last row of squares and finish the edge of the quilt. You should now have a finished quilt.